
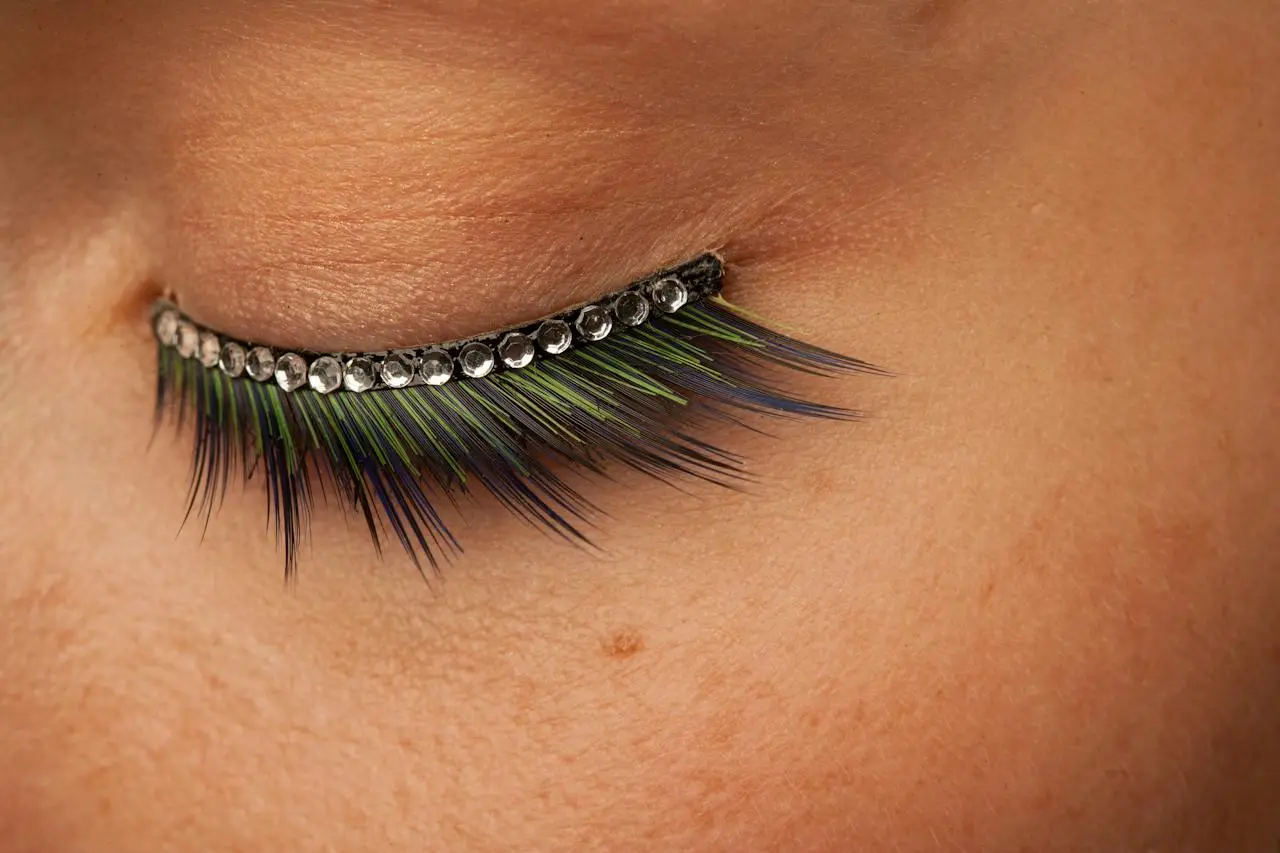
Introduction:
Eyelash extensions can enhance your natural beauty and give your eyes a captivating allure. However, there comes a time when you might want to remove them, whether it’s due to the end of their lifespan, a change in preference, or for any other reason. While professional removal is always recommended, there are instances when you might need to take matters into your own hands. In this article, we’ll explore a step-by-step guide on how to remove eyelash extensions safely at home.
Materials Needed:
Before you begin the removal process, gather the following materials:
- Eyelash extension remover or adhesive dissolver: Purchase a quality adhesive remover designed specifically for eyelash extensions. Do not attempt to use any other substances, as they may cause irritation or damage to your natural lashes.
- Cotton pads or swabs: These will be used to apply the remover and gently wipe away the dissolved adhesive.
- Oil-based makeup remover or coconut oil: This will help break down the adhesive and make the removal process smoother.
- Mirror: Use a well-lit mirror to ensure you can see the process clearly and avoid any mishaps.
How to Remove Eyelash Extensions
- Wash Your Face:
Begin by thoroughly cleansing your face with a mild, oil-free cleanser. This will remove any makeup, oils, or debris from your lashes, allowing the remover to work more effectively. - Protect Your Lower Lashes:
Apply a thin layer of petroleum jelly or a similar product to your lower lashes. This acts as a protective barrier, preventing the remover from coming into contact with your lower lashes and skin. - Apply Eyelash Extension Remover:
Dip a cotton swab or pad into the eyelash extension remover. Gently apply it to the base of your eyelashes, where the extensions are attached. Be careful not to get the remover into your eyes, and ensure that it only comes into contact with the extensions. - Wait for the Remover to Work:
Allow the remover to sit on your lashes for the recommended time specified on the product packaging. Typically, this is around 5-10 minutes. During this time, the remover will dissolve the adhesive, making it easier to remove the extensions. - Gently Wipe Away Extensions:
After the waiting period, use a clean cotton pad or swab to gently wipe away the dissolved extensions. Start from the outer corner of your eye and move inwards. Be patient and avoid pulling or tugging to prevent damage to your natural lashes. - Repeat if Necessary:
If there are any stubborn extensions remaining, you can repeat the process until all extensions are removed. Take breaks between attempts to minimize stress on your lashes. - Cleanse Your Lashes:
Once all extensions are removed, cleanse your lashes again with a gentle cleanser to remove any residue from the remover. - Moisturize and Nourish:
Finish the process by applying a light, oil-free moisturizer or a lash serum to nourish your natural lashes.
Conclusion:
While removing eyelash extensions at home is possible, it’s crucial to follow these steps carefully to minimize the risk of damage to your natural lashes. If you’re unsure or encounter difficulties, seek professional help from a licensed lash technician. Remember, your natural lashes deserve as much care as your extensions, so be gentle and patient throughout the removal process.
As a dedicated beauty enthusiast , I’m thrilled to share my expertise in the realm of eyelash extensions, serums, curler, and glues.